Getting Your Plastic Heating Just Right
When you’re looking at a datasheet for infrared lamps, it’s easy to get hung up on wattage and voltage. But honestly? Those numbers only tell you half the story. What actually matters is how the temperature climbs and whether that heat is spread evenly across the whole tube.
The struggle with temperature rise
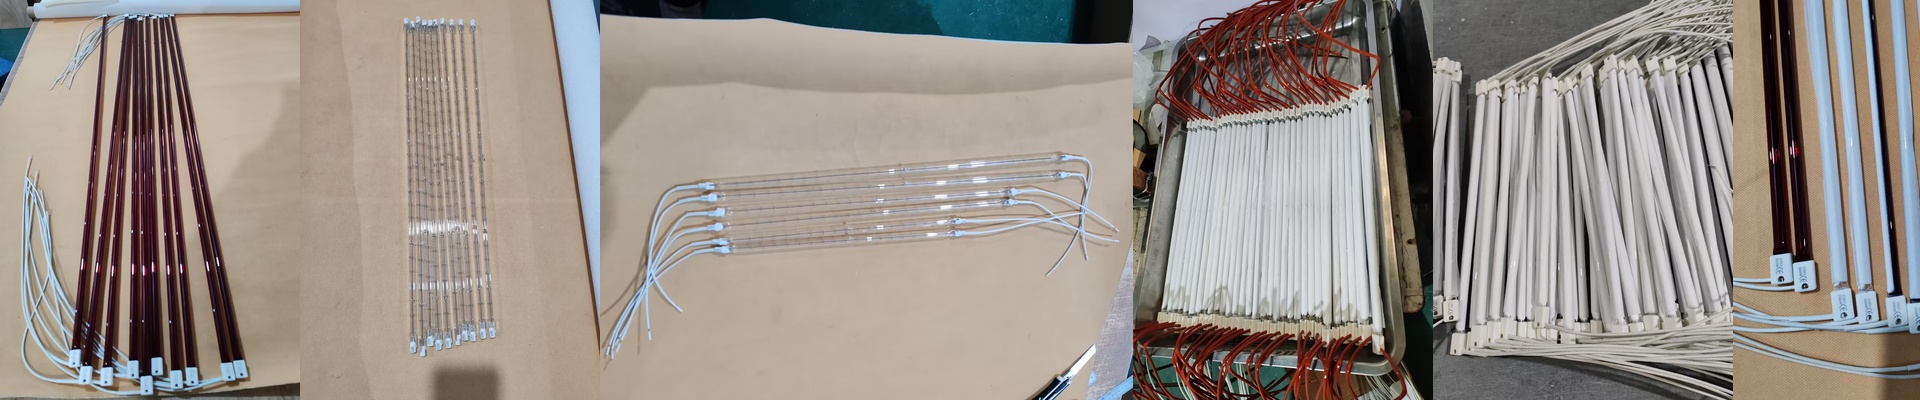
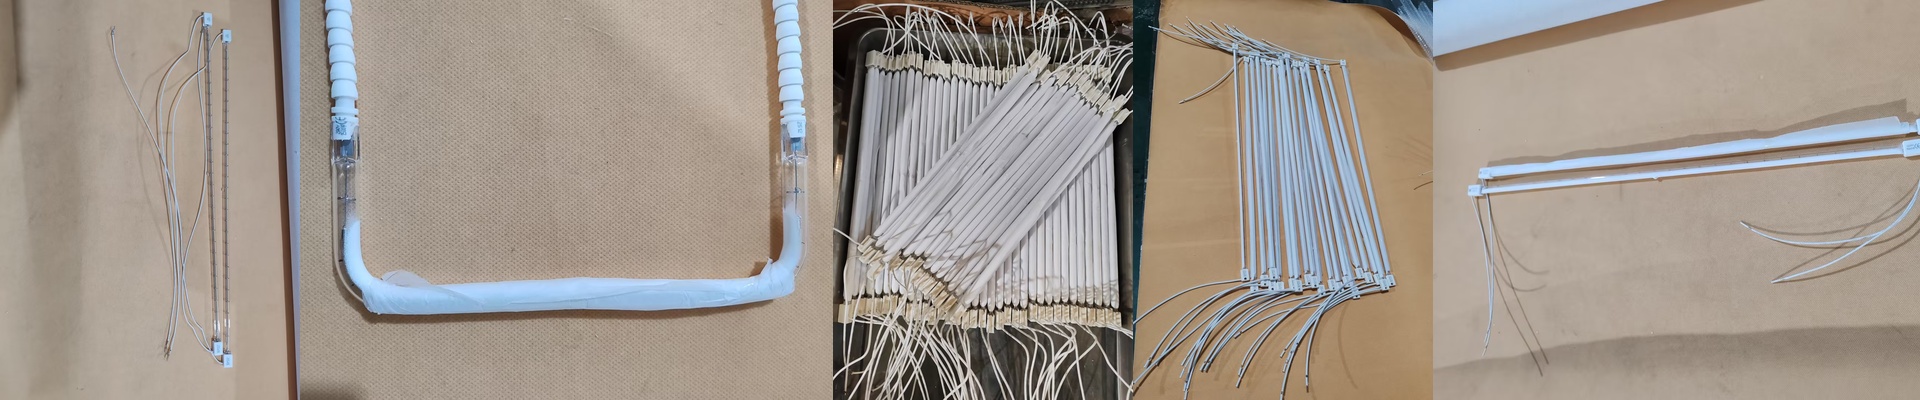
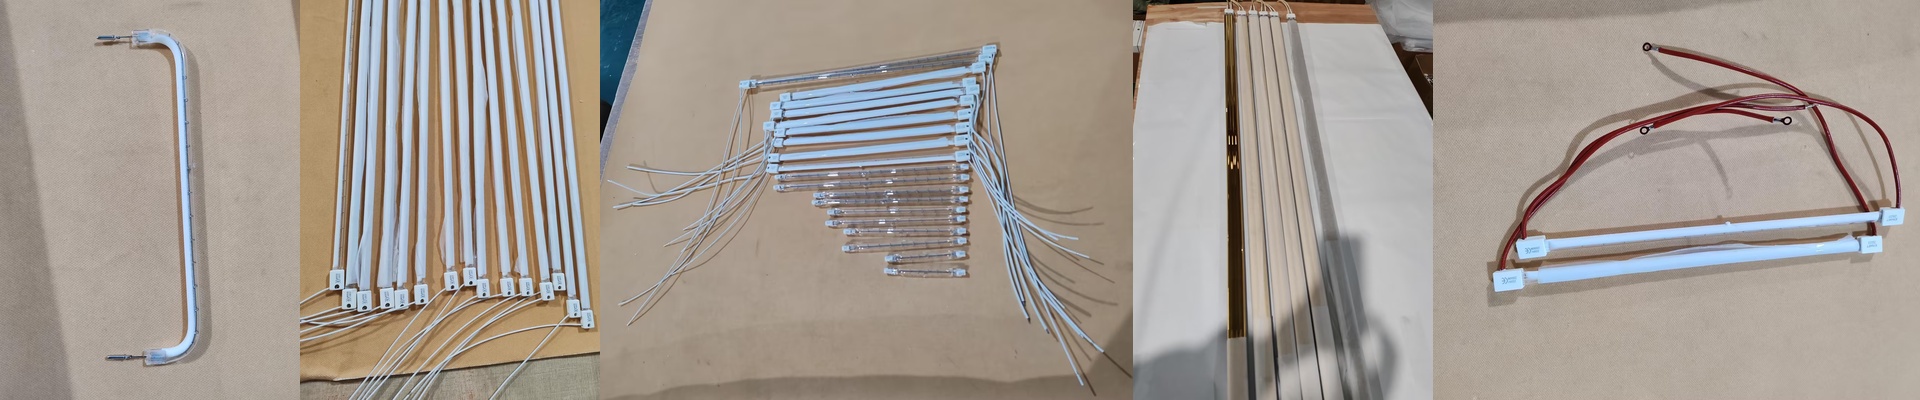
The goal is to get your tube up to temperature fast—without overshooting. If you’re doing PET blowing or shrink wrapping, a steep rise curve is your best friend because it slashes your cycle times. But there’s a catch. If the filament isn’t perfectly centered or the quartz is cheap, you’ll get hot spots. These aren’t just annoying; they’re dangerous. They can scorch your plastic or leave you with weird, uneven wall thickness in your finished parts. Not a great look.
The “Cold End” problem
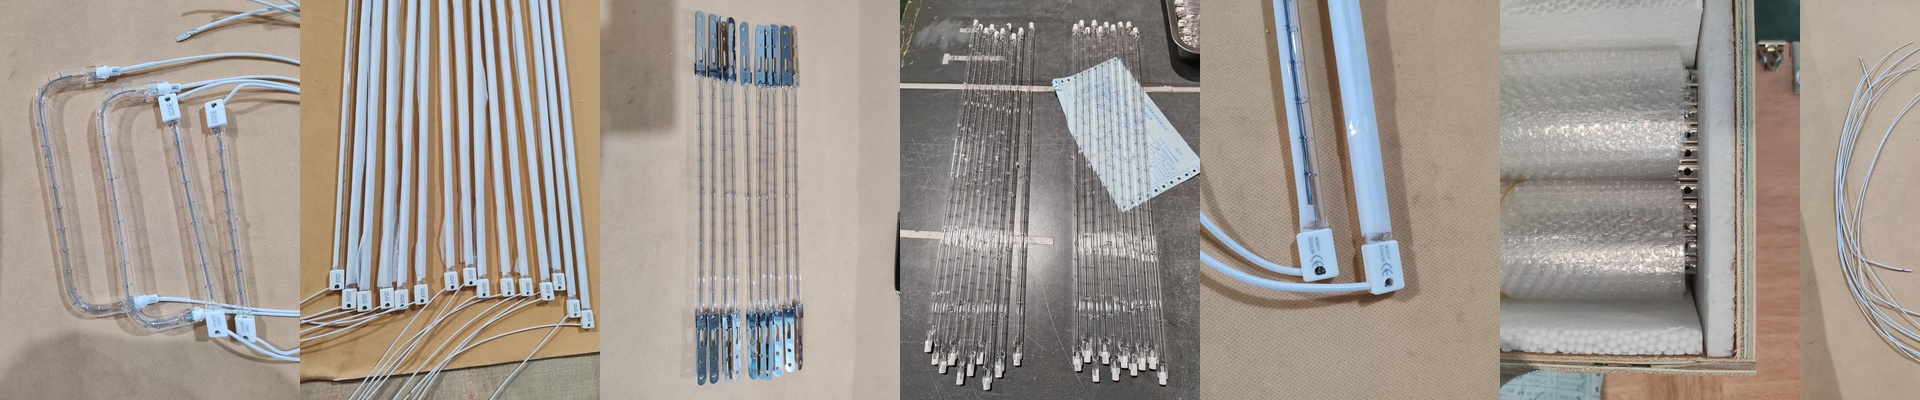
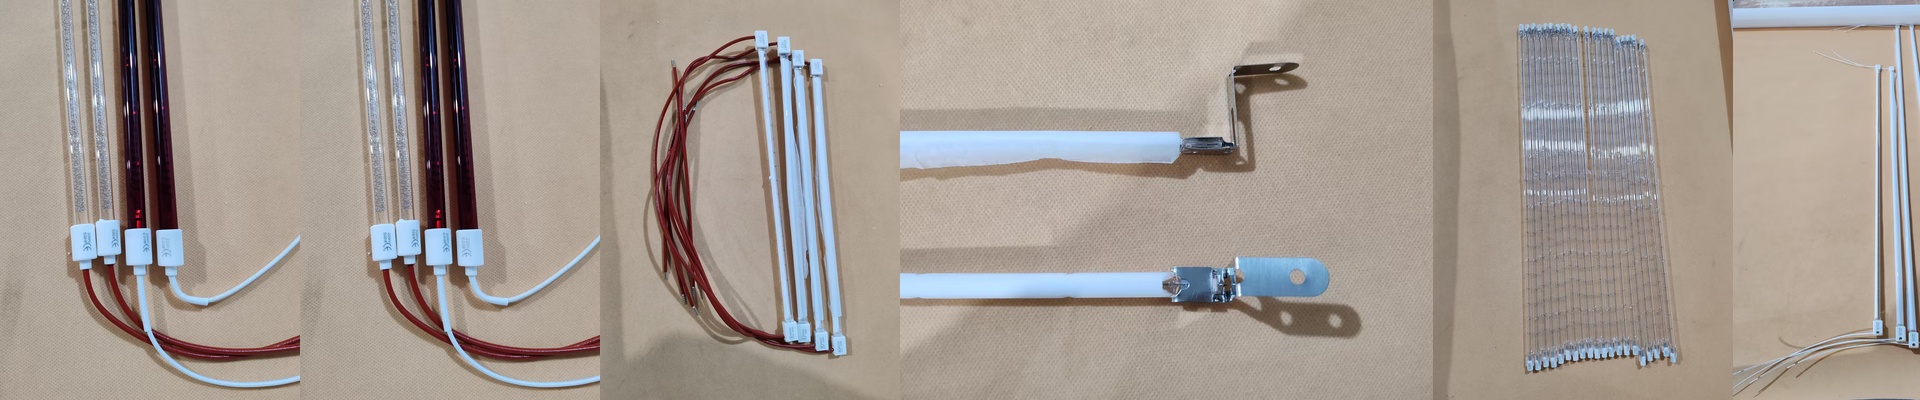
This is where most generic lamps fall apart. If you take a standard 300mm or 500mm tube, the ends almost always run cooler than the middle. We fix this by tweaking the filament winding density. If you’ve noticed cold spots on your preforms, your uniformity is off. The temptation is to just crank up the heat for the whole oven to compensate. Don’t do that. You’ll just waste power and risk burning the material in the center.
Put them to the test
If you’re thinking about switching to Henruite lamps, don’t take my word for it. Just try them. Grab one of our tubes and your current brand, plug them into the same power supply, and map the surface temperature of the plastic every 50mm. You’ll see exactly how our heat penetrates the material differently. One last tip: be careful with your voltage. It’s tempting to push a 230V tube to 250V just to get a bit more heat, but you’re basically trading the lamp’s lifespan for a quick fix. It warps the thermal profile and kills the tube. Stick to the specs. And for heaven’s sake, make sure your cooling fans are actually positioned to handle the heat from high-wattage arrays, or you’re looking at a premature burnout.