Getting Your Heat Right with Halogen Lamps
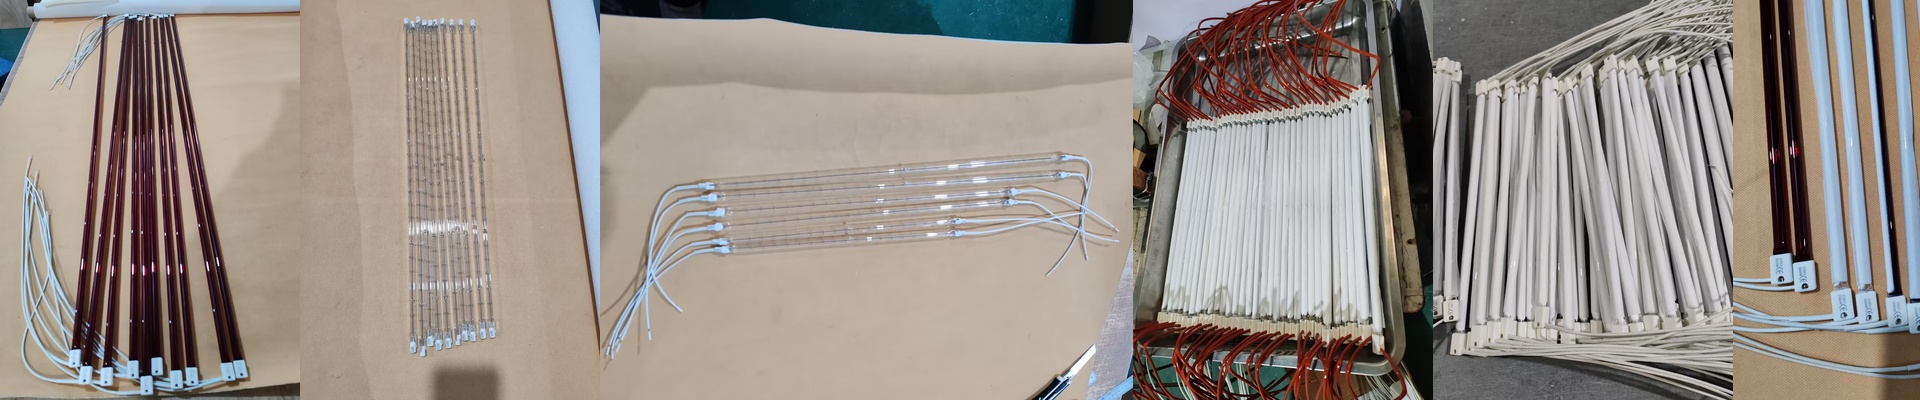
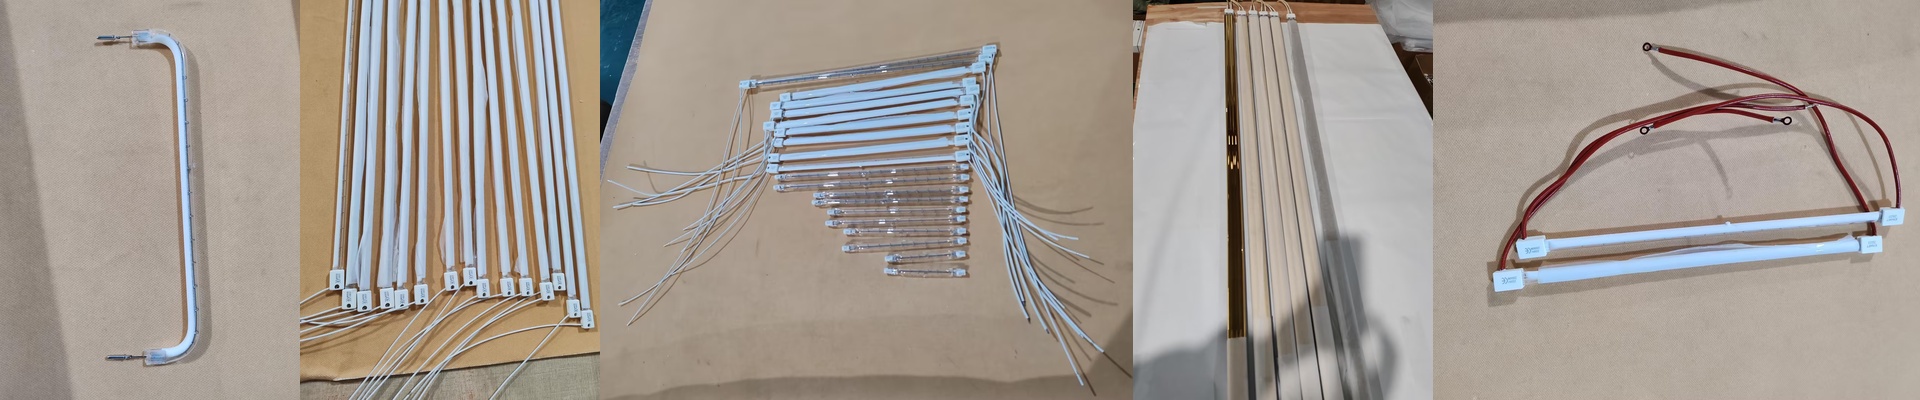
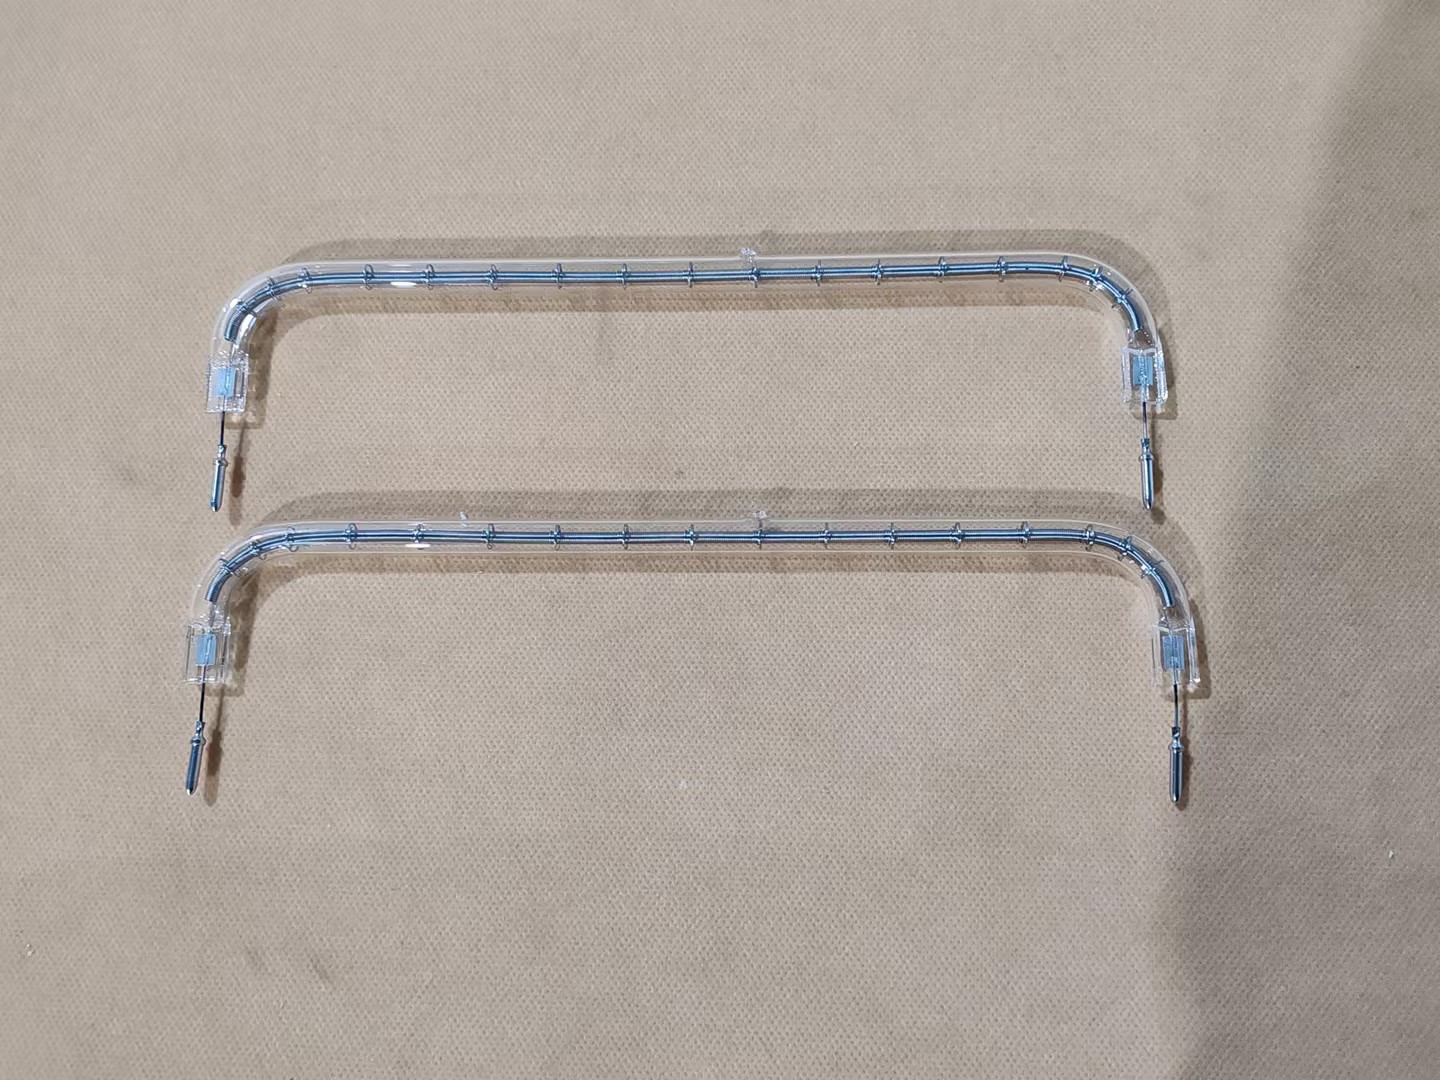
If you’re into 3D printing, you know the drill: waiting for your equipment to warm up is a total drag. And if your temperature swings even a little bit, your whole print can go south. That’s why we build our halogen lamps the way we do. We use a tungsten filament tucked inside a quartz envelope and fill it with a specific halogen gas mix. Basically, it keeps the filament from burning out too fast, so you can crank up the heat without worrying that the lamp is going to pop in a week.
Let’s talk power
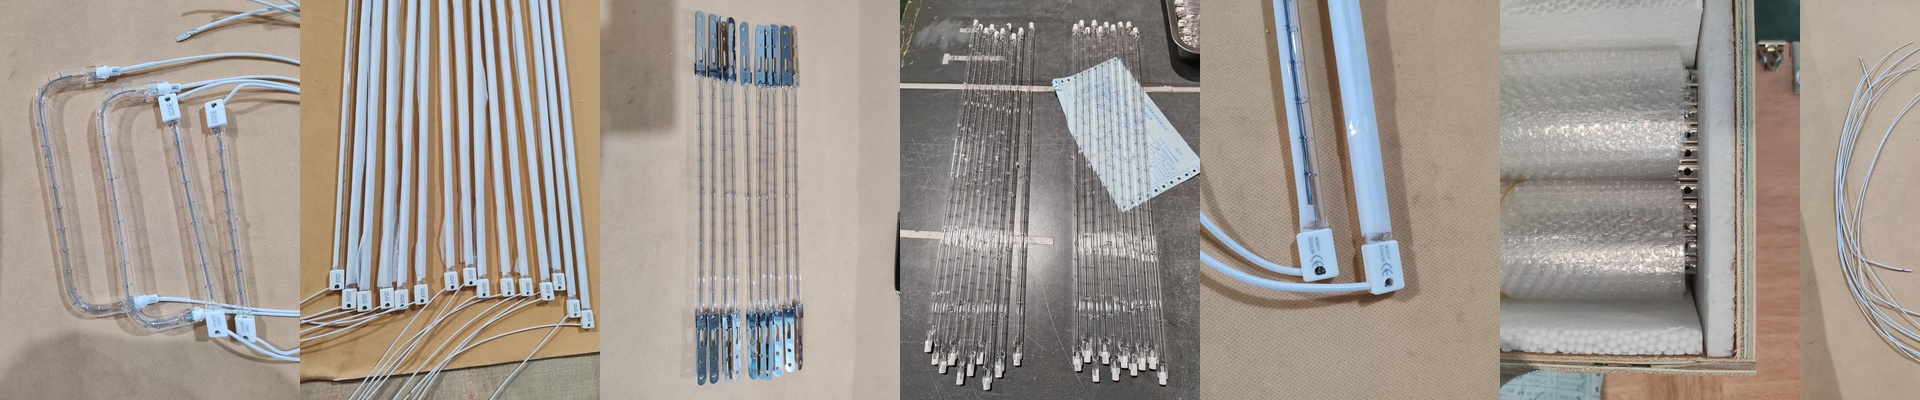
The wattage and voltage are what really drive the heat. If you go with a high-wattage tube, you’re getting a much more intense thermal punch. This is a lifesaver when you’re working with those stubborn, high-temp polymers or trying to keep your build plate rock-steady. And we didn’t want you spending hours fiddling with wiring. We use standard R7s or SK15 connectors. They just slide right in. No custom adapters, no headaches.
The secret is in the glass
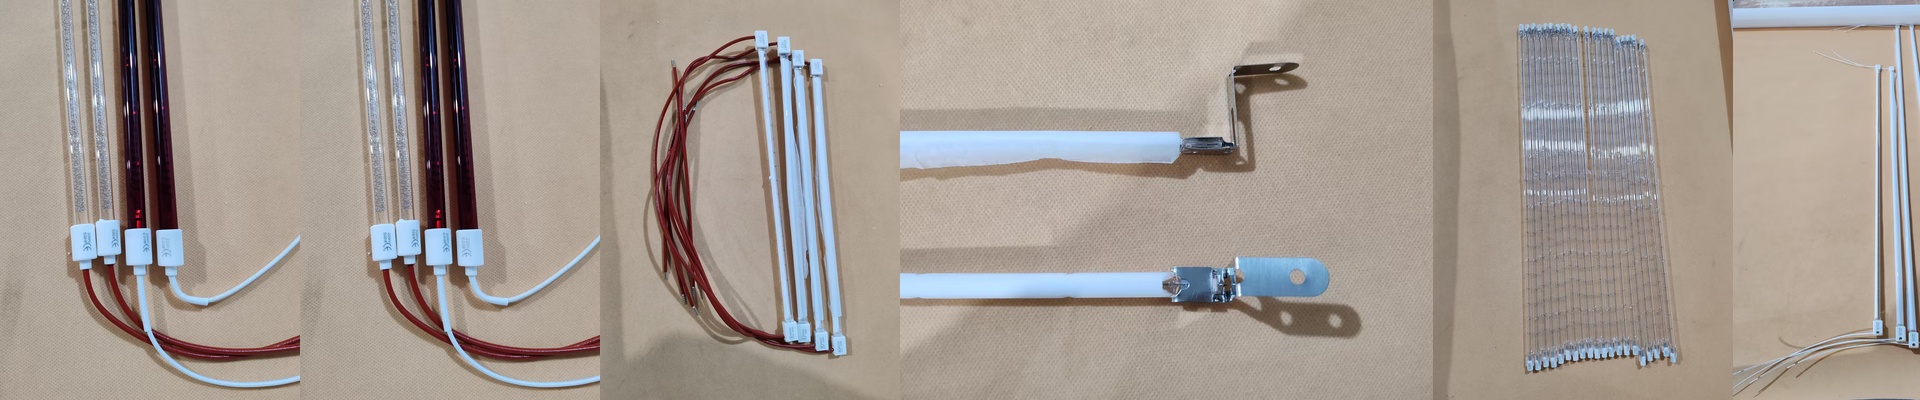
We use quartz because it doesn’t freak out when things get hot and cold quickly. But the real trick is the coating. We apply specific layers to the tubes to push the energy into shortwave infrared. Why? Because you don’t want to just heat the air around the part. You want the heat to actually sink into the material. It’s a much more direct way of doing things.
A few things to watch out for
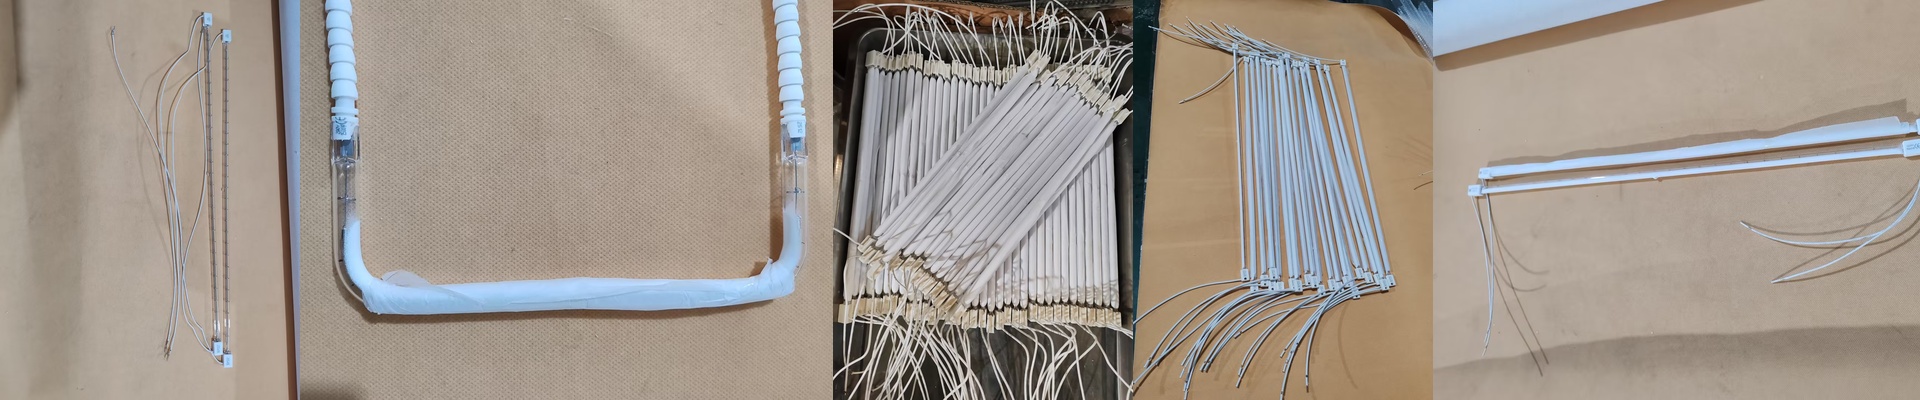
Here’s the catch: these lamps put out a massive amount of radiant heat. If you cram a 2000W+ tube into a tiny box, things are going to get sweaty. You’ve got to make sure your fans and heat sinks can actually keep up. If you don’t manage that ambient heat, you’re risking fried electronics or, even worse, a warped printer frame. The upside is that these lamps react almost instantly. They’re perfect for PID control because they jump to temperature the moment you tell them to. Just a heads-up: make sure your power supply can handle that initial surge of current when the filament first kicks on.